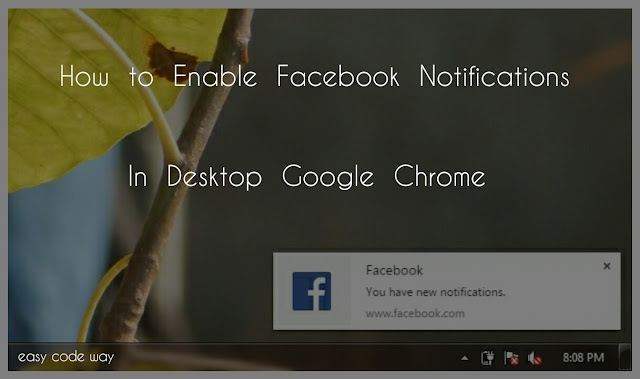
Imagine how it would be to get Facebook notifications even when you're offline. Seems like Facebook heard us. Few days back, when I login to my account, a pop up box appear and it offer me to enable push notifications in Google chrome.

Earlier this feature is limited to mobile users only and now you can take advantage of it on your desktop browser also. This will help you in many ways. For example, if you're surfing Internet or using any other offline application then too you can receive direct notifications from your Facebook account. These notifications will appear in a small box at the bottom-right corner of your computer screen. Now you don't need to be online each time to see your friends activities and messages.
In today's tutorial, I will guide you how to enable or disable these desktop push notifications in Google chrome. Basically there are 2 methods to do this. Actually both of them will work in the same manner. The only difference is that, In first method, we will change Facebook account settings while in second method we will change the site settings in Google chrome browser so that it will allow notification from Facebook side. Now lets start with the first one -
This is one of the simplest method and I personally use it as my primary choice. Now if you want to enable this feature, simple follow these steps carefully -
Now if you want to disable this feature, go back to the notification settings and you'll find a turn off option there. Simply click on it and that's it.
As already mentioned, In this method we will change the site settings in Google Chrome browser. Unfortunately, this is a lengthy process but definitely you will learn something new. So lets start with the basics.
Unfortunately, this feature for Google chrome users only and I just hope that Facebook will make it available for other browsers also. What do you think? Finally If you've any questions or doubt, please let me know in below comment box. Love and Blessings!.

Earlier this feature is limited to mobile users only and now you can take advantage of it on your desktop browser also. This will help you in many ways. For example, if you're surfing Internet or using any other offline application then too you can receive direct notifications from your Facebook account. These notifications will appear in a small box at the bottom-right corner of your computer screen. Now you don't need to be online each time to see your friends activities and messages.
In today's tutorial, I will guide you how to enable or disable these desktop push notifications in Google chrome. Basically there are 2 methods to do this. Actually both of them will work in the same manner. The only difference is that, In first method, we will change Facebook account settings while in second method we will change the site settings in Google chrome browser so that it will allow notification from Facebook side. Now lets start with the first one -
Directly Enable Facebook Push Notifications
This is one of the simplest method and I personally use it as my primary choice. Now if you want to enable this feature, simple follow these steps carefully -
- First of all, login to your fb account.
- Now click on drop-down arrow icon from top navigation menu. (The same button from where you logout your account)
- After this, click on "Settings" button from the menu list.
- Under settings, move to "Notifications" tab.
- Now click edit button next to the "Desktop and Mobile" option.

- Here you'll find "Turn on" button. Simply Click on it.
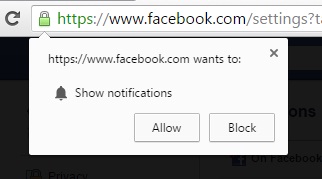
- Finally, a pop up box will appear. Hit Allow button and you've done it.

Now if you want to disable this feature, go back to the notification settings and you'll find a turn off option there. Simply click on it and that's it.
Manually Change Site Settings In Google Chrome
As already mentioned, In this method we will change the site settings in Google Chrome browser. Unfortunately, this is a lengthy process but definitely you will learn something new. So lets start with the basics.
- Make sure that you're logged into your Facebook account and after this, move to homepage.
- Now look at the URL of web page. You'll find a green color lock icon left to it. Simply click that icon. (See below picture for help.)

- Under permissions tab, you'll find "Notifications" option. Click the drop-down arrow icon next to it and select "Always allow on this site".
- Open new tab in Google chrome and go to "chrome://settings/content" link.
- Actually this will take you to the content settings page. Scroll down and find "Notifications".

- Now Click on "Manage exceptions" button and a pop up box will appear.

- Under Hostname pattern, add "https://www.facebook.com:433" URL.
- Change the behavior of above url to "Allow".
- Finally hit "Done" button and that's it.
Unfortunately, this feature for Google chrome users only and I just hope that Facebook will make it available for other browsers also. What do you think? Finally If you've any questions or doubt, please let me know in below comment box. Love and Blessings!.

Leave A Comment